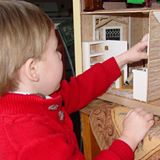

Whether you are a beginner or a pro, there is always a ‘beginning’ to every dollhouse construction project. In our eagerness to get started, it’s easy to jump ahead of ourselves. After many years of building dollhouses, I’ve learned that there is a certain order to the steps that, if followed, will save you a few headaches in the long run. I’ve also learned that some kits do not give the best advice about when, in the overall process, to do certain steps and that has led me to some very frustrating tasks that could have been easier if only I had done them in a different order. So I hope my experiences will help you have a great experience right from the beginning.
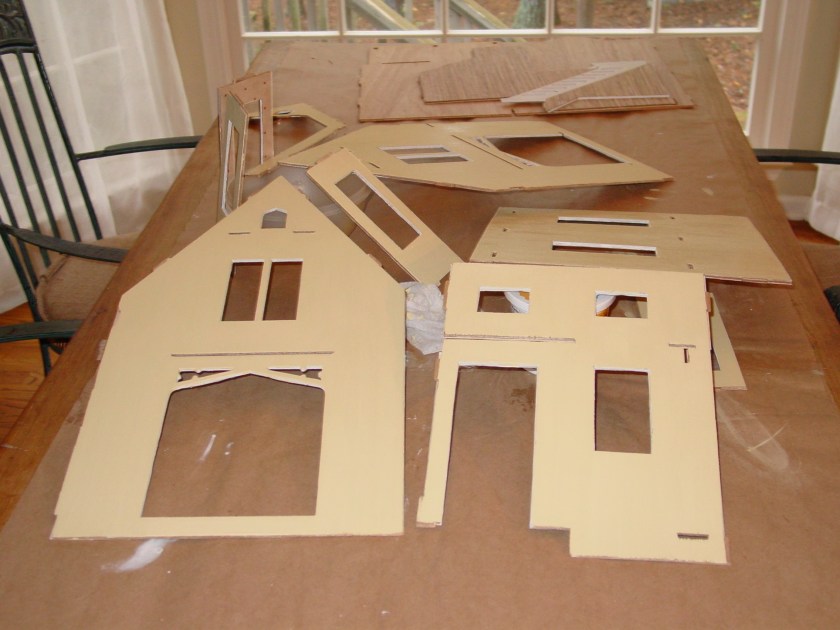
Whether you are a pro and have cut all of the walls yourself in a self-designed project, or you are working with a kit, the first step always needs to be laying out all of the main walls, roof sections, and floors to get a feel for the way the parts will fit together and just to inventory what you have. Since, in my next blog, I’m going to discuss the next step…pre-painting and wallpapering every surface prior to assembly, it’s necessary to know which section of which walls will actually be part of the same room. If the additional pieces, like trim, have come in the box labeled to a specific board, do NOT punch them out at this point. You will only confuse yourself later about where they all need to be placed. For now, we are ONLY working with the major walls, floors, and roof sections.
At this point, it is time to sand the edges of every section of every wall, including the inside of every window and door opening. Be careful…splinters are common. Make sure to get them sanded smoothly. This takes time but is necessary in order to end up with a finished project that is safe to handle.
I find it helpful at this point to use a pencil to lightly write on each wall section the name of the room that particular section of wall will be in when the project is assembled. Some wall sections possibly include a wall section from a first floor room, and a second floor room and maybe even an attic. Remember each wall has an Interior side and an Exterior side. Lightly mark in pencil which side is the interior and which side is the exterior.
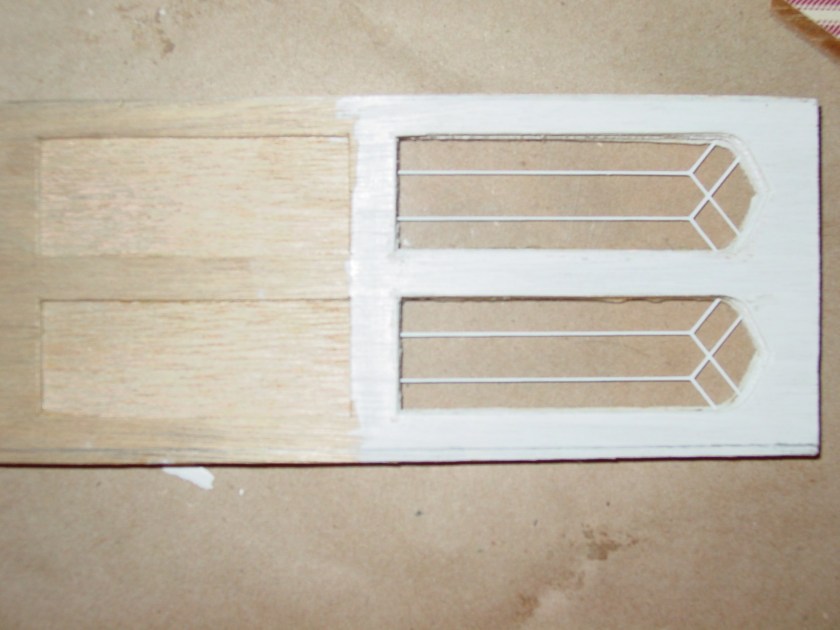
Once you have accomplished this, it is best to go ahead and paint the inside of every door and window opening with your selected trim color because, at this point, you don’t have to be particularly careful about accidentally getting the paint on the exterior or interior walls since you are going to paint or wallpaper those next so you can cover up any trim paint mistakes that might get on the walls at this stage. I will admit that this is tedious (because you want to get on with assembly) but, trust me, you will be SO glad later.
Just look at this door…the clear plastic “glass” that has been added later would surely be difficult to avoid getting trim paint on if you glued the plastic on BEFORE painting the trim inside the window openings!
Well, that’s it for starting your project. If you do all of this using the average kit: taking inventory, sanding, and painting inside windows and doors, you’ll be ready to take a break now. Stay tuned for the next steps.
Copyright 2017

Just discovered your Blog-
My question is: I have a 1949 Keystone dollhouse. It has never been updated. I would like to redo it. Where do I start? Can it be taken apart?
LikeLike
Wendy, Unless you are very experienced in building doll houses, I would not take this house apart. Too many complications can occur when you try to put it back together. It’s hard for me to tell you exactly what to do to refurbish it without seeing it. Perhaps you can send a picture.
LikeLike